CentOS 7 / RHEL 7 安装 Sublime 3
How to install Sublime 3 on CentOS 7 / RHEL 7
Leave a reply
Updates
Introduction
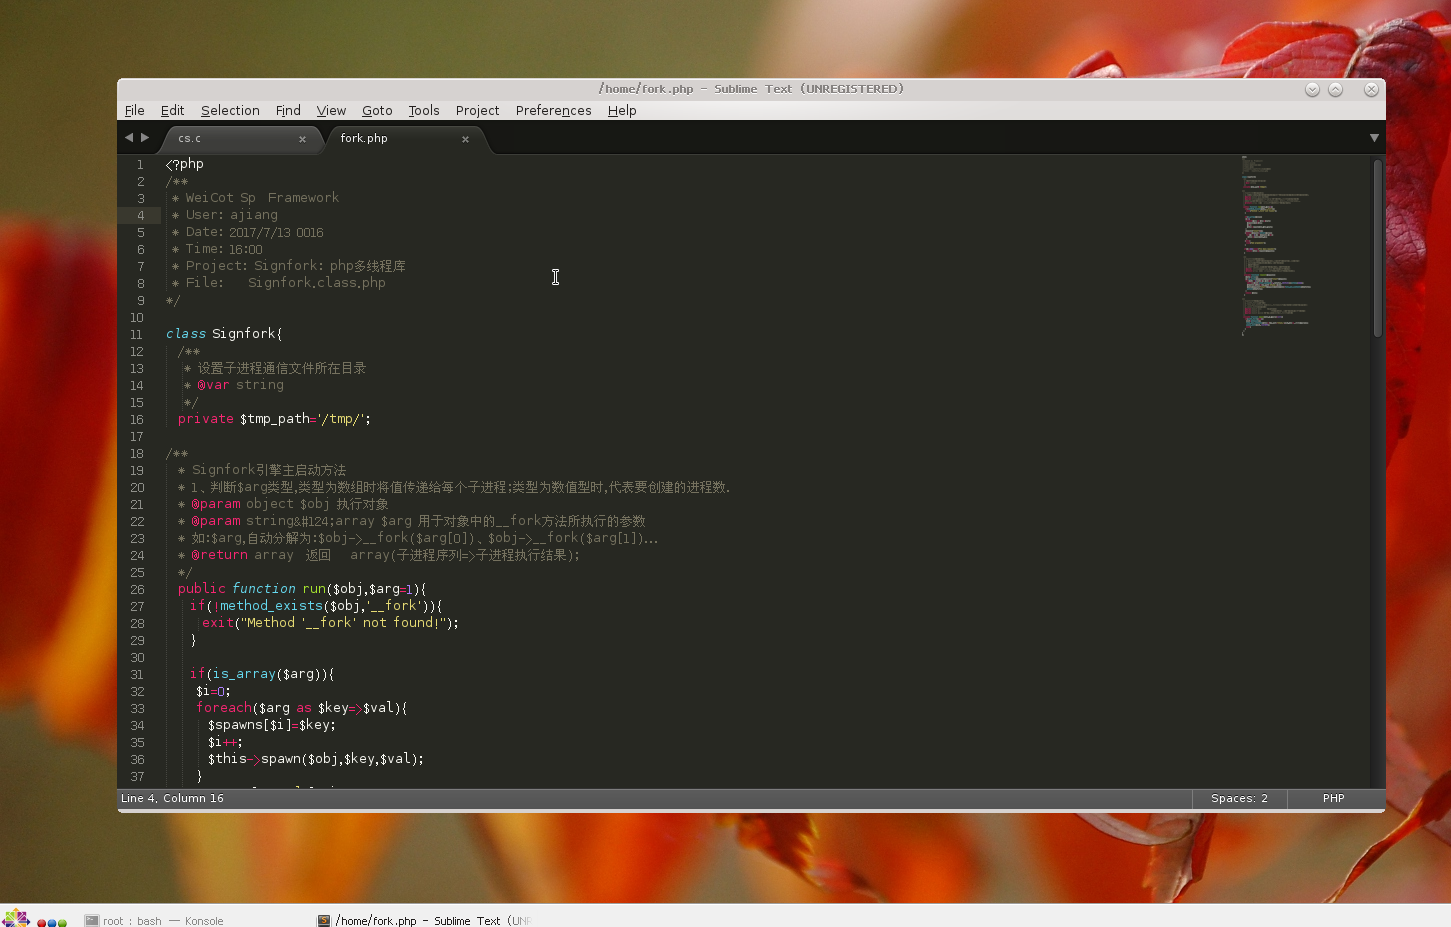
This guide will tell you how to install Sublime3 on CentOS 7 ( Currently, I am using CentOS 7.0). The reason why I start using Sublime3 is Eclipse takes so much time to open a big file ( greater than 1000 lines), especially PHP with PDP.
Step 1. Download [ http://www.sublimetext.com/ ]
There are multiple ways of downloading files. I will download file with wget command. If you want you can download sublime with FireFox.
$ cd ~/Downloads

## On 32bit
$ wget http://c758482.r82.cf2.rackcdn.com/sublime_text_3_build_3065_x32.tar.bz2

## On 64bit
$ wget http://c758482.r82.cf2.rackcdn.com/sublime_text_3_build_3065_x64.tar.bz2
Step 2. Extract Sublime package (example to /opt directory)
You can store Sublime any place you want. Here, I will put Sublime under /opt directory.
## On 32bit
$ sudo tar -vxjf sublime_text_3_build_3065_x32.tar.bz2 -C /opt

## On 64bit
$ sudo tar -vxjf sublime_text_3_build_3065_x64.tar.bz2 -C /opt
Step 3. Make a symbolic link to the installed Sublime3
# sudo ln -s /opt/sublime_text_3/sublime_text /usr/bin/sublime3
Step 4. Run Sublime3 if it is installed correctly.
If you finish Step1 to Step3, you can run sublime from your terminal by executing sublime3.
$ sublime3
Step 5. Create Gnome desktop launcher
You can run Sublime3 on desktop by clicking a icon.
$ sudo sublime3 /usr/share/applications/sublime3.desktop
Step 6. Append this and close file.
[Desktop Entry]
Name=Sublime3
Exec=sublime3
Terminal=false
Icon=/opt/sublime_text_3/Icon/48x48/sublime-text.png
Type=Application
Categories=TextEditor;IDE;Development
X-Ayatana-Desktop-Shortcuts=NewWindow

[NewWindow Shortcut Group]
Name=New Window
Exec=sublime -n
TargetEnvironment=Unity
Now, you can see the Sublime3 icon on Applications/Programming !!
Enjoy!!
You can run Sublime3 on desktop by clicking a icon.
CentOS 7 / RHEL 7 安装Redis
1.1 系统环境和版本说明
Redis的版本选取目前的稳定版本2.8.9。 客户端选用了redis的Java版本jedis 2.4.2。
1.2 Redis的安装步骤
a. 进入root目录,并下载Redis的安装包
$ cd
$ wget http://labfile.oss.aliyuncs.com/files0422/redis-2.8.9.tar.gz
b. 在目录下,解压按照包,生成新的目录redis-2.8.9
$ tar xvfz redis-2.8.9.tar.gz
c. 进入解压之后的目录,进行编译
$ cd redis-2.8.9
$ make
$ make install
说明: 如果没有明显的错误,则表示编译成功
在安装成功之后,可以运行测试,确认Redis的功能是否正常
$ make test
2、Redis启动
2.1查看重要文件
在 Redis 安装完成后,注意一些重要的文件,可用 ls 命令查看。服务端:src/redis-server,客户端:src/redis-cls,默认配置文件:redis.conf
$ ls
$ cd src
$ ls
2.2 、然后将可执行文件放置在$PATH环境目录下,便于以后执行程序时可以不用输入完整的路径,
$ cp redis-server /usr/local/bin/
$ cp redis-cli /usr/local/bin/
2.3、启动Redis-server
$ redis-server
说明: 从以上的截图中,可以发现启动的端口为缺省的6379. 用户可以在启动的时候,指定具体的配置文件,并在其中指定启动的端口。
保持此终端的运行,Ctrl+shift+t 重开一个终端tab。
2.4、查看Redis
$ ps -ef | grep redis
# 通过启动命令检查Redis服务器状态
$ netstat -nlt|grep 6379
2.5、启动Redis-client
$ su    ( 输入root密码,进入root目录)
$ cd
$ redis-cli
上面的启动方式是有点问题的,只能在redis的安装包下面的src目录启动才可以,如果是关闭服务端的cmd窗口,跟着redis服务也就关闭了,这种并不是我们想看到的,然而我们希望不管服务端的cmd窗口是否打开,redis的服务正常运行,那么我们需要进行以下几步即可:
1、我们要把src目录下面的redis-cli、redis-server、redis-sentinel移到/usr/bin目录下面
root@localhost:/opt/deploy/redis-3.0.0-rc1# cd src
root@localhost:/opt/deploy/redis-3.0.0-rc1/src# mv redis-cli redis-server redis-sentinel /usr/bin/
root@localhost:/opt/deploy/redis-3.0.0-rc1/src# cd ..
root@localhost:/opt/deploy/redis-3.0.0-rc1# mkdir -p /etc/redis/
root@localhost:/opt/deploy/redis-3.0.0-rc1# cp redis.conf /etc/redis/redis.conf
2、现在打开文件/etc/redis/redis.conf, 找到‘daemonize no’改为‘daemonize yes‘,然后启动它!
1 view plain copy print?
root@localhost:/opt/deploy/redis-3.0.0-rc1/src# redis-server /etc/redis/redis.conf
root@localhost:/opt/deploy/redis-3.0.0-rc1/src#
好了, Redis现在已经安装好了,并且在容器里面运行了,使用的配置文件是/etc/redis/redis.conf。
Redis 与 PHP
接下来安装php_redis.so扩展让php支持redis
1.将扩展用样安装到/usr/local/src目录下
cd /usr/local/src
wget https://github.com/phpredis/phpredis/archive/2.2.4.tar.gz  #下载扩展
tar zxf 2.2.4.tar.gz
cd phpredis-2.2.4
/usr/bin/phpize  #phpize执行文件的路径
注:执行/usr/bin/phpize 前使用whereis phpize查看phpize的路径
2.进行配置
./configure --with-php-config=/usr/bin/php-config
在进行上面的命令前,不妨同样使用whereis php-config 查看php-config路径
#编译安装
make && make install
到这一步,php-redis扩展就安装完成啦!!!
php加载redis扩展
1.进入php.ini配置文件
vi /etc/php.ini
在php.ini的任意行添加以下内容
extension=redis.so
2.保存退出,重启apache
systemctl restart httpd
3.查看redis是否安装成功
php -m | grep redis
# 或者web 端使用PHP Info
4.进入/var/www/html 执行php代码测试redis
$redis = new Redis();
$redis->connect('192.168.1.249', 6379);
$redis->set('key','test');
echo $redis->get('key');
备注以及引用
本文收集自互联网 仅供学习和 交流使用 来源已不可考
转载请注明:(●--●) Hello.My Weicot » How to install Sublime 3 on CentOS 7 / RHEL 7 CentOS7下安装Redis 和 Sublime 3 代码GUI编辑工具
